ADD NEW LAYER
This document containing needed information to add new layer (shape file) into C-Insight system.
The new layer is provided by the customer as a ESRI file.
In this document we will use PI-Chiapas layer as an example.
- Use following Software – QGIS, to convert your ESRI file to Shape files.
- Install QGIS Software - https://qgis.org/en/site/forusers/download.html
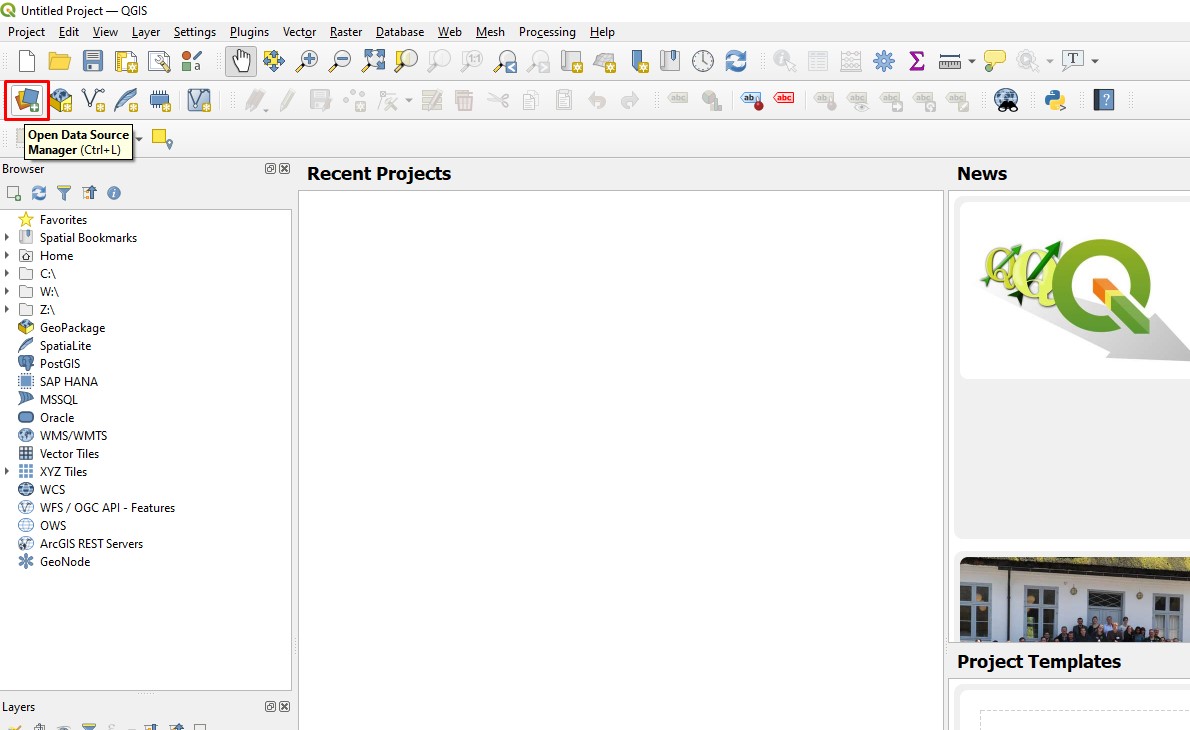
- Open QGIS Software and load the ESRI Shape file we want to convert.
- Press on “Open Data Source”.
- choose the folder path with the Relevant Files (*.TAB) and press Double Click.
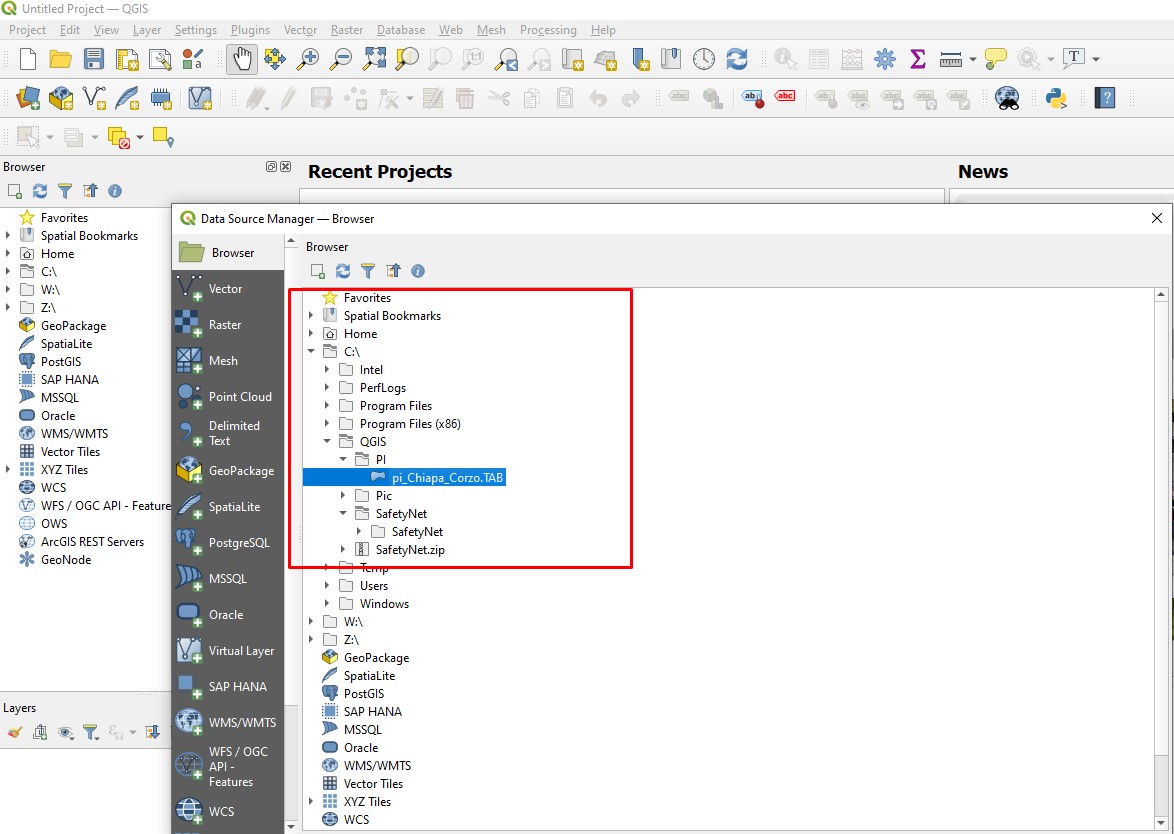
- The layer will be opened.
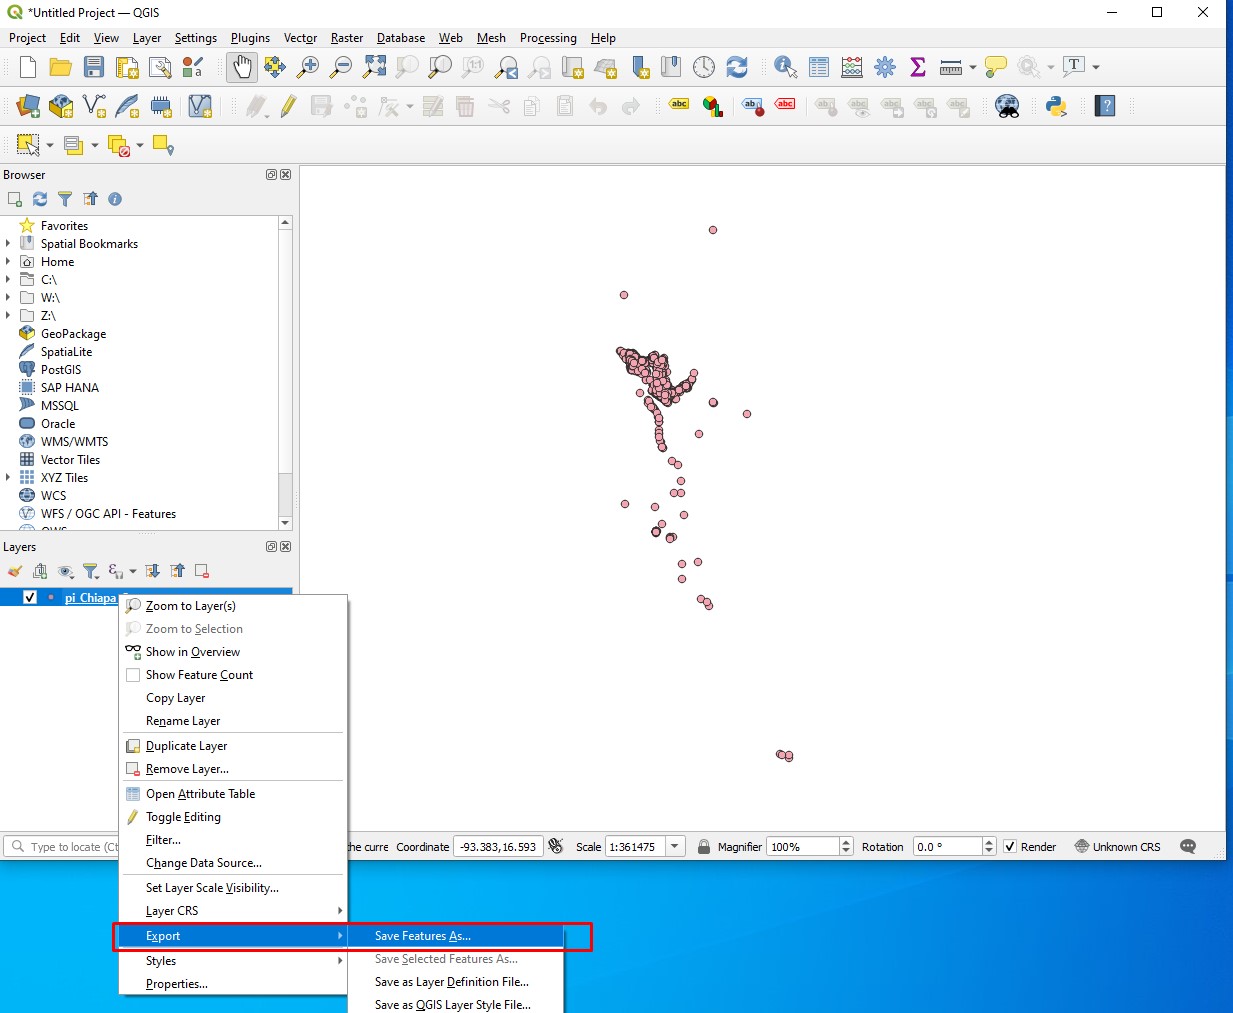
- Close the “Date Source Management” Browser
- Right click on the Layer and then – “Export” -> “Save Features As…”
- We will choose in the Format box “ESRI Shapefile” – IMPORTANT and we will choose the Path to save the Shape files after the conversion, press OK.
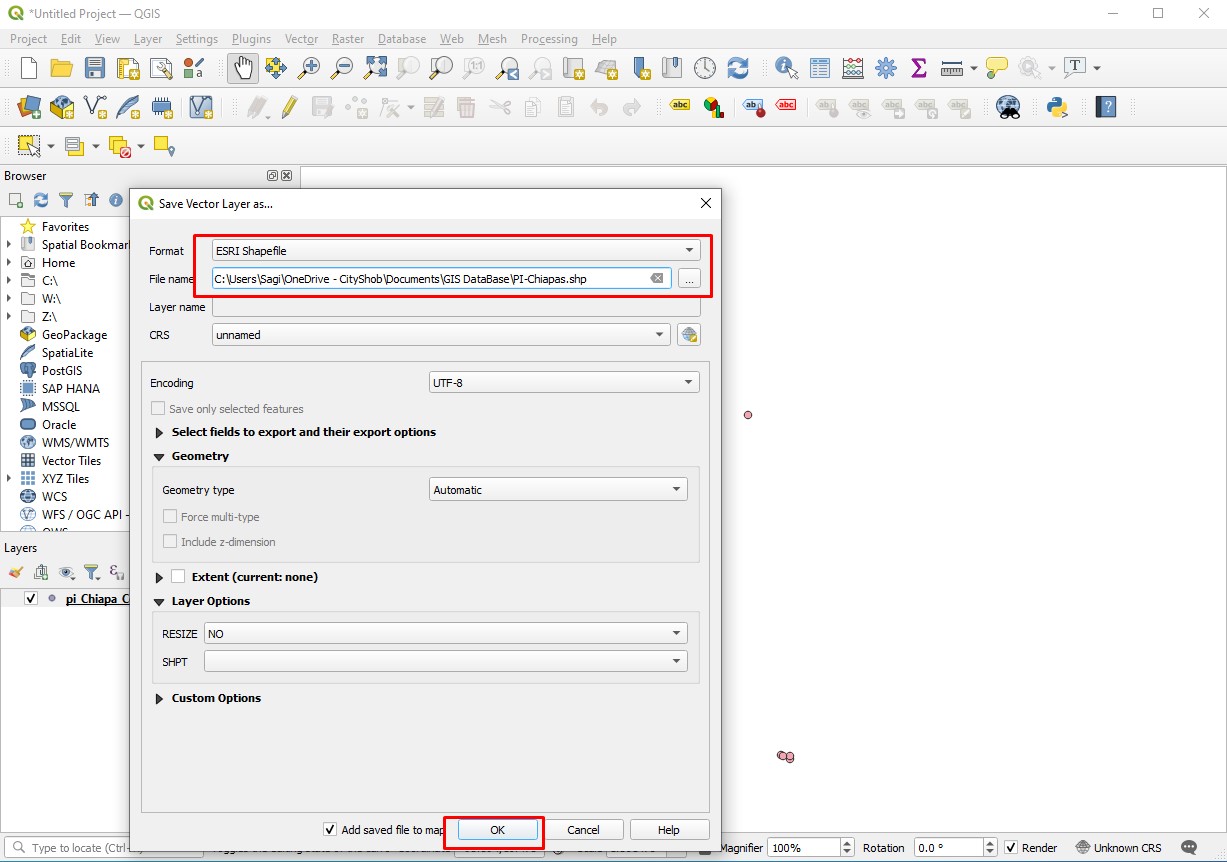
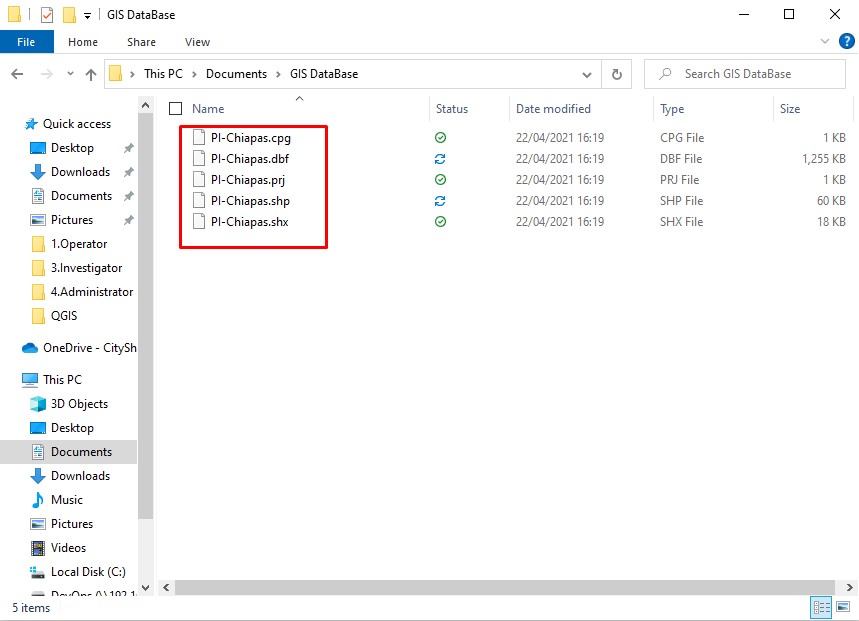
- As we can see the files are converted and saved in the folder path we chose.
- Logon to C-Insight client as RootAdministrator
- Copy shape folder to C-Insight client.
- Open CMD and go to Application folder 🡪
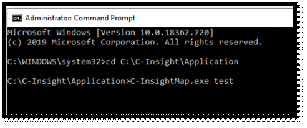
cd c:\c-insight\application
run command 🡪 C-InsightMap.exe test
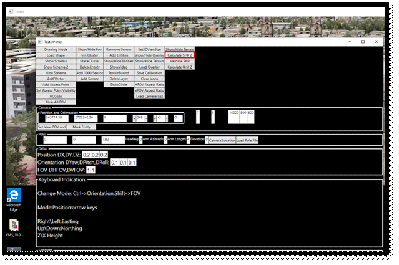
- On test panel 🡪 click on Calculate SHP Z
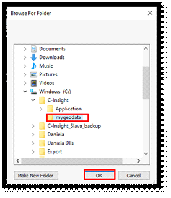
- Brows to now shape folder and select ok:
- The process will create new folder “Z” in your shape folder.
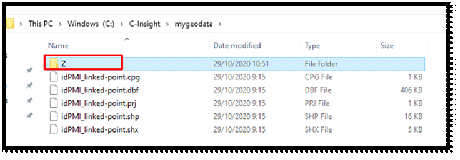
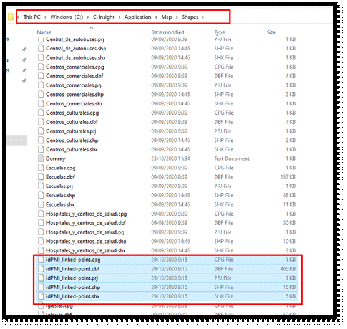
- Go to Z folder to copy the files (replace) with the original files you have.

- Copy the files to 🡪 C:\C-Insight\Application\Map\Shapes
- Close the test map application.
- Open C-Insight application as RootAdministrator user
- Go to USAP 🡪 Layers 🡪 Shape Files
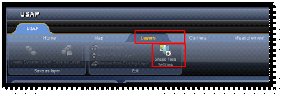

- Click 🡪 New
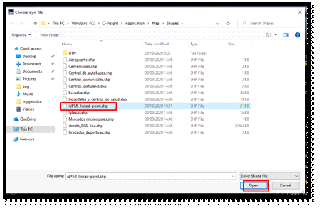
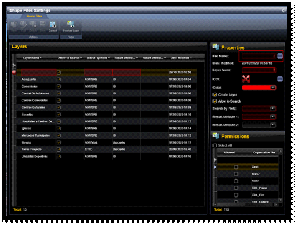
- Select the new shape files and completed all mandatory fields.
- Update Layer Name, Icon, Color.
- Search by Filed: Name and idPMI (Note: Name must be first)
- Select the organization you wish to allow access to new layer.
- You can use the “Preview Layer” to see the result before saving.
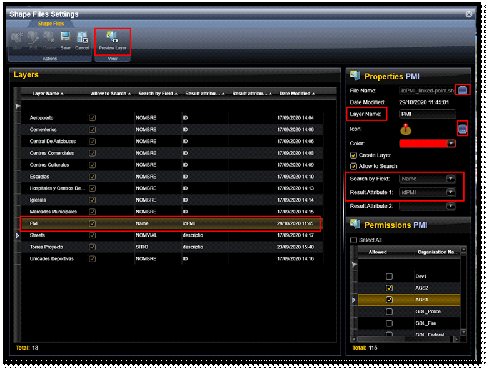

- Save.
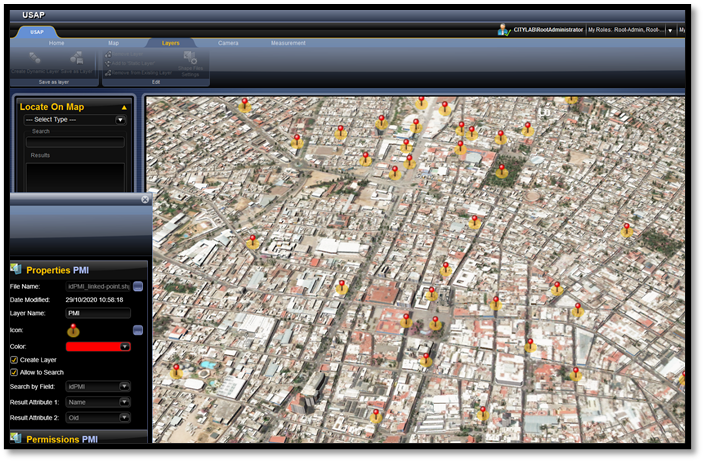
- Verify you can see the new layer in the layer list:
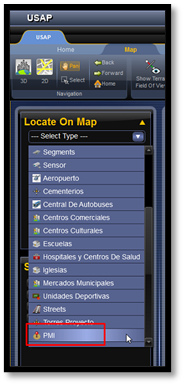
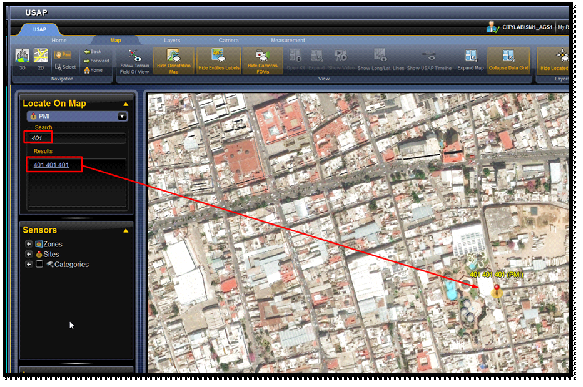
- Login as Shift Manager / Operator and verify layer loaded correctly
- Copy the new shape files to all clients in the system under |
C:\C-Insight\Application\Map\Shapes - Backup the new shape files in \\c5-maint-srv01\MSI\AGS\Client-PostDeployment\Shapes
For future installations.
- You can use PDQ tool to distribute the new shape files to all C-Insight clients.
Created with the Personal Edition of HelpNDoc: Easily create HTML Help documents