CIT – Installation and Configuration
The Configuration and Integration Toolkit (CIT) application allows you create a graphical representation of the C4I system and then manage the configuration of each element in the system. The CIT tool is able to import and export all or part of the configuration and can merge and/or override its current configuration. In addition, the CIT tool allows you to run/stop the various machines and hosts.
This manual describes how to use the Configuration and Integration Toolkit (CIT) application to configure the C4I system.
Note: This document intended for a user who has a deep understanding of the C4I system
To open the CIT application, you must the following application installed on your workstation:
- Microsoft SQL Server Compact 4.0 Setup (SSCERuntime_x64-ENU.msi)
The installation includes the following settings:
- The installation is done on the C:\ drive.
- A local user is created with the necessary privileges (not administrative) to run the systems.
- The administrator user does not run the application.
- The application log file is directed to a different network/storage file.
- The installer installs all modules (except the database and third party applications requiring licenses).
- The System Agent Service is installed with administrative privileges as a Windows Service, and is set to start automatically when Windows starts.
- Database data files, logs, and all other data related objects are based on the designated storage location.
- The Installer updates the Server page files to grow up to 150% of the Server RAM (for a 32 GB RAM Server the minimum page file size is 32 GB, and maximum is 48 GB)
- The installation configures the system log severity to Error
- The installation configures the amount of system log files to 10
- The installation configures the system log max file size to 100 MB
- Install the CIT on first Application server
- See C-INSIGHT Server installation steps. When you reach to the custom setup screen, make sure to add CIT option.
The Custom setup screen appears

- Once finish, the CIT installation will be located under c:\c-insight\cit
The following steps will guide you how to create new project with the minimum relevant BU’s required to start USH server and client.
All other BU’s which are require for sub systems such as VMS, VA, FR, LPR will be discussed and explain in the relevant manual.
Note: This chapter will show how to configure all related BU’s in a single machine (ALL IN ONE), while in real project you will have more than 1 Application server, the configuration will be the same and the only different will be the location of the BU’s on different Application servers you have in the project, the BU’s allocation in real project should be provided as part of project BU’s design done by R&D.
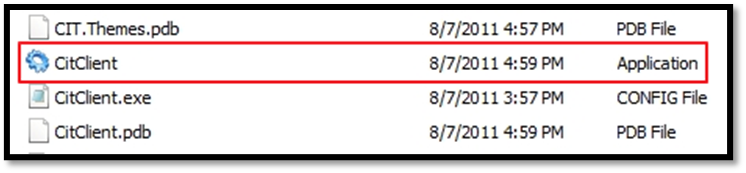
The CIT application does not require standard installation. The application resides inside an application directory, which must be copied to your local drive and then opened directly by opening the CITBuild folder and double clicking the CitClient application file.
To create a new project:
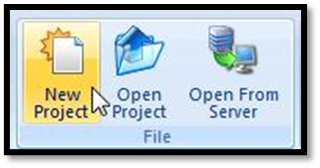
- Click New Project from the ribbon area.
- The New Project window opens.
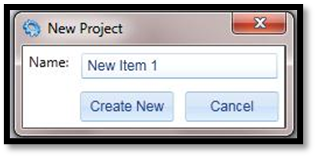
- Enter a name for your project, and click Create New.
- Under the Project Hierarchy tab in the navigation pane, click and drag the System icon (
 ) to the Project Hierarchy tab in the main window.
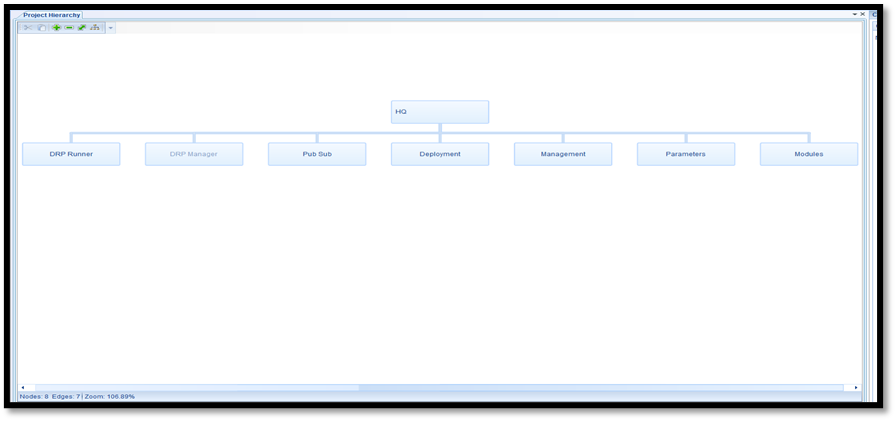
- A project hierarchy is created in the main window.
- Click the Refresh Layout icon (
 ) to automatically adjust the layout.
 - Click the System Name Here box, and enter a name for the system in the configuration pane on the right.
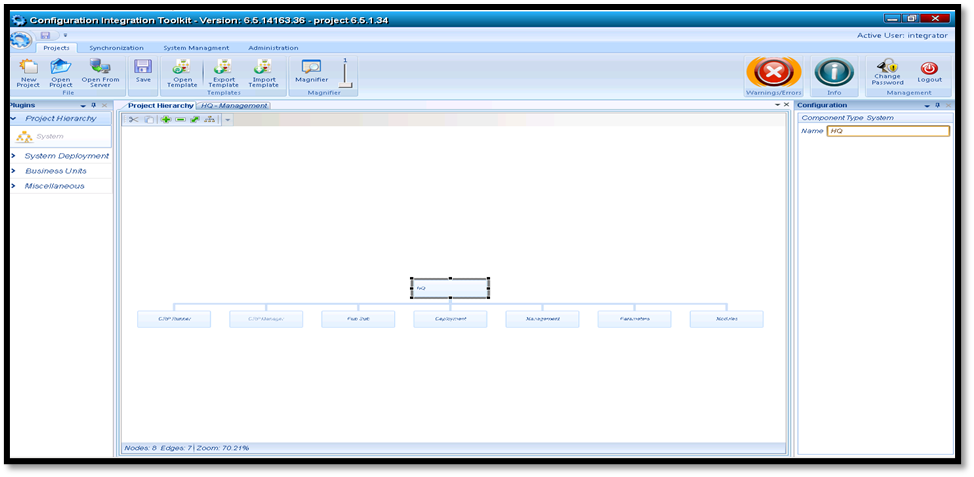
- Click Save to save your project.
A standard Save As window opens

- Name and save your project file to the desired directory.
XXXXX.citx file is saved.
You are now ready to configure each component in the system.
The Parameters table manages the connections string servers BU used for connecting to the relevant DB and instances for their general work. The table also contains the user name and passwords needed for these connections.
To configure the Parameters table:
- In the Project Hierarchy tab, click Open in the Parameters node box.

A new tab, next to the Project Hierarchy tab, opens in the main window and displays the parameters in the Parameters node.
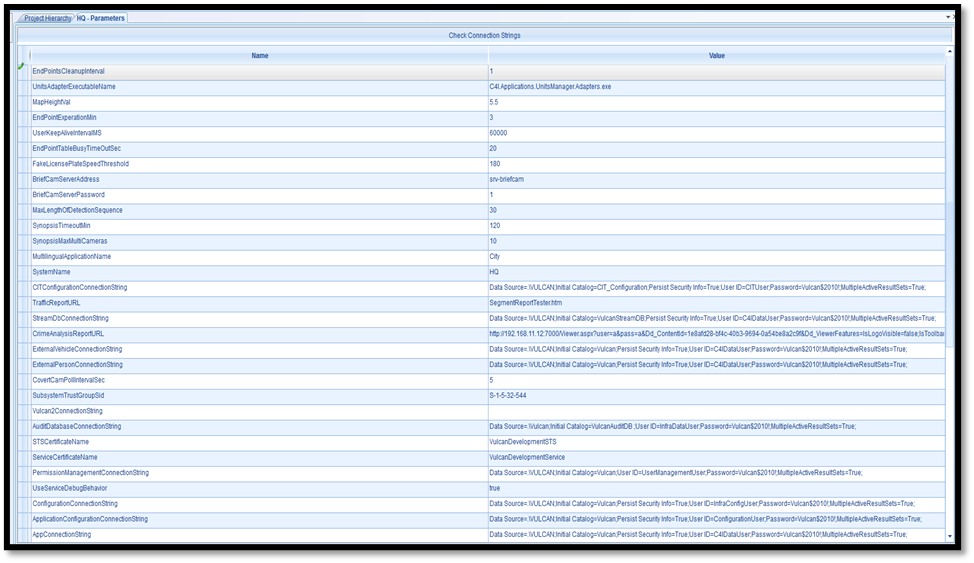
- Verify that SystemName is HQ.

- In the System Parameters table, replace each instance of a “.” that appears before a “\” with either the relevant IP address or DNS, as follows:
Configuring the Parameters Table
|
Name |
Value |
|
DataServicesHistConnectionString |
Data Source=<IP or DNS> \detections_his;Initial Catalog=DetectionsLTDB;Persist Security Info=True;User ID=C4IDataUser;Password=Vulcan$2010! |
|
DetectionsConnectionString |
Data Source= < IP or DNS> \detections;Initial Catalog=DetectionsSTDB;Persist Security Info=True;User ID=C4IDataUser;Password=Vulcan$2010! |
|
AuditDatabaseConnectionString |
Data Source=<IP or DNS>.\Vulcan;Initial Catalog=VulcanAuditDB ;User ID=InfraDataUser;Password=Vulcan$2010! |
|
PermissionManagementConnectionString |
Data Source=<IP or DNS>\Vulcan;Initial Catalog=Vulcan;User ID=UserManagementUser;Password=Vulcan$2010!; |
|
ConfigurationConnectionString |
Data Source=<IP or DNS>\Vulcan;Initial Catalog=Vulcan;Persist Security Info=True;User ID=InfraConfigUser;Password=Vulcan$2010! |
|
ApplicationConfigurationConnectionString |
Data Source=<IP or DNS>\VULCAN;Initial Catalog=Vulcan;Persist Security Info=True;User ID=ConfigurationUser;Password=Vulcan$2010! |
|
AppConnectionString |
Data Source=<IP or DNS>\VULCAN;Initial Catalog=Vulcan;Persist Security Info=True;User ID=C4IDataUser;Password=Vulcan$2010! |
|
CITConnectionString |
Data Source=<IP or DNS>\VULCAN;Initial Catalog=Vulcan;Persist Security Info=True;User ID=CITUser;Password=Vulcan$2010! |
|
VulcanDataDBConnectionString |
Data Source=<IP or DNS\VULCAN;Initial Catalog=VulcanDataDB;Persist Security Info=True;User ID=C4IDataUser;Password=Vulcan$2010! |
|
CITConfigurationConnectionString |
Data Source=<IP or DNS>\VULCAN;Initial Catalog=CIT_Configuration;Persist Security Info=True;User ID=CITUser;Password=Vulcan$2010! |
|
Video_ServerName |
<IP or DNS>\Vulcan |
|
StreamDbConnectionString |
Data Source= < IP or DNS> \VULCAN;Initial Catalog=VulcanStreamDB;Persist Security Info=True;User ID=C4IDataUser;Password=Vulcan$2010! |
|
ExternalVehicleConnection |
Data Source=< IP or DNS>\Vulcan;Initial Catalog=DmvMock;User ID=ObjectEnrichment;Password=12345! |
|
ExternalPersonConnection |
Data Source=< IP or DNS>\Vulcan;Initial Catalog=DmvMock;User ID=ObjectEnrichment;Password=12345! |
|
TrafficReportURL |
http://<IP or DND>:7000/Viewer.aspx?Dd_ContentId=f7d69b69-6eb8-4817-905c-009f8e1f5fc1&Dd_ViewerFeatures=IsLogoVisible=false;IsToolbarVisible=false;IsNavigationVisible=false&Dd_ContentType=Dashboard |
|
CrimeAnalysisReportURL |
http:// <IP or DND>::7000/Viewer.aspx?user=a&pass=a&Dd_ContentId=1e8afd28-bf4c-40b3-9694-0a54be8a2c9f&Dd_ViewerFeatures=IsLogoVisible=false;IsToolbarVisible=false;IsNavigationVisible=false&Dd_ContentType=Dashboard |
|
BrifCamServerAddress |
Server IP Address |
|
BrifCamServerPassword |
Server IP Password |
Note: Using the DNS is preferable since an IP address may change whereas the DNS name is constant.
Created with the Personal Edition of HelpNDoc: Full-featured EPub generator