CIT - Multi Tenancy Guide
CIT - Multi Tenancy Guide
- CIT system data come with one default Tenant.
- Open CIT.
- Click Open from file and choose the JSON file with the relevant deployment.
- Login with Tenant Admin user. (U: TenantAdmin P: TntAdmin1234).
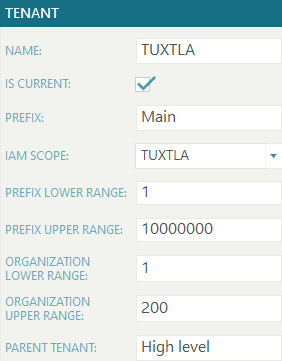
- Select the default Tenant:
- Configure the IAMScope with TUXTLA.
- Chang the Name to TUXTLA
- Open Deployment Configuration -> ConnectionStrings to configure the Vulcan machine.
- Replace all “.\VULCAN” locations with “[Server Name].\VULCAN”.
- Open Tenant Management -> Tenant Admin Users:
- Add System User: C4ISRV.
- Add Tenant Users.
- Click Save and Publish to write all data to the database.
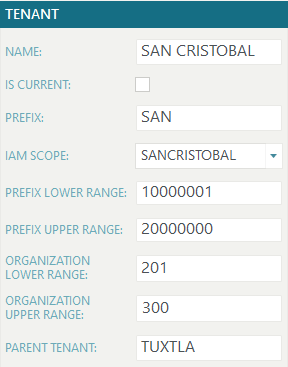
- Add new Tenant – Configure:
- Name - SAN CRISTOBAL
- Prefix - SAN
- IAMScope - SANCRISTOBAL
- Prefix Lower Range - 10000001
- Prefix Upper Range - 20000000
- Organization Lower Range - 201
- Organization Upper Range - 300
- Go to the TUXTLA Tenant and in the Tenant Hierarchy area, check the
new Tenant to be his child.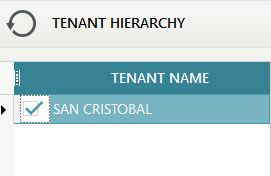
- Open Deployment Configuration -> ConnectionStrings to configure the
Vulcan machine for the SAN CRISTOBAL Tenant. - Select the new Tennent created
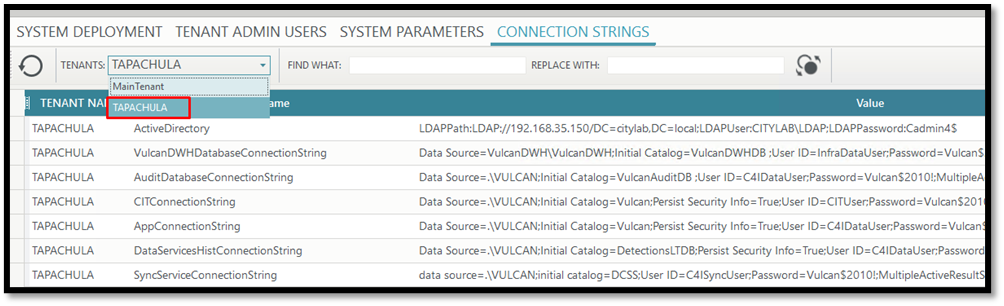
- Replace all “.\VULCAN” locations with “[Server Name].\VULCAN”.
- Open Tenant Management -> Sync Services and configure the relevant data.
- Click Save and Publish to write all data to the database.
- Open Tenant Management -> Publish Tenant Data.
Buttons:
![]() Refresh
Refresh
 Check connection to remote database.
 Check/Un-check – to select/un-select Tenant(s) to publish.
 Start Publish.
 Clear log.
- Click on Check connection to verify exist connection to remote database machine. (please verify that the status is OK)

- Click Start Publish.
- You’ll prompt to confirm.
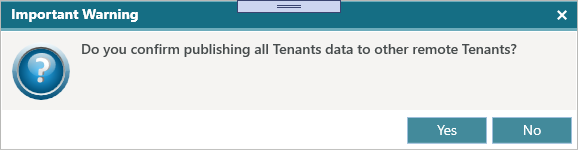
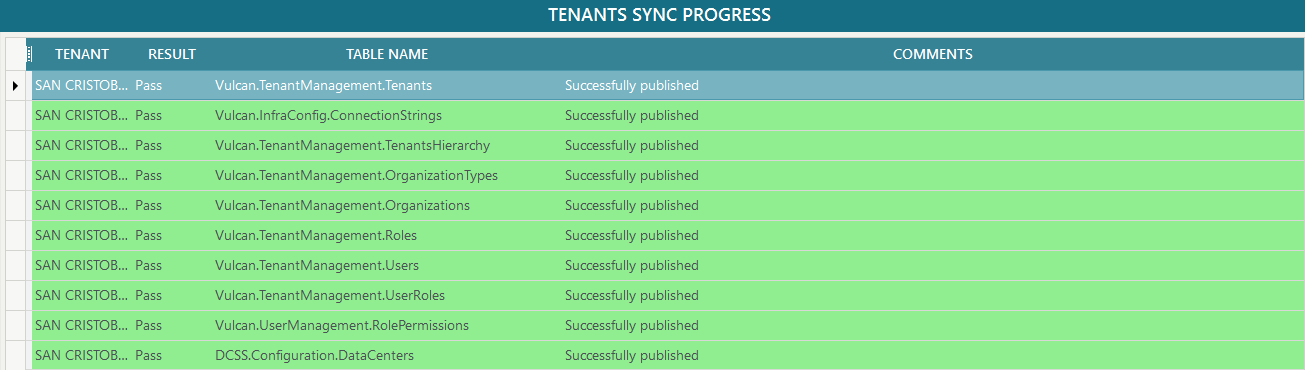
- In Tenants Sync Progress you will see the progress of pass or fail tables.
- After you do TENANT PUBLISH DATA - run this command in the Child tenant
exec [VulcanAdmin].[ReseedAllTables] 10000000
- Go to the SAN CRISTOBAL environment.
- Open CIT.
- Open from server.
- You’ll see 2 Tenants.
- Select SAN CRISTOBAL Tenant.
- *** Start configure deployment - machines/hosts/services.
- Click Save and Publish to write all data to the database.
Tenant users in Vulcan
select * from TenantManagement.Tenants
select * from TenantManagement.Users
select * from TenantManagement.Roles
select * from TenantManagement.UserRoles
Created with the Personal Edition of HelpNDoc: Free Web Help generator